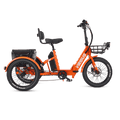


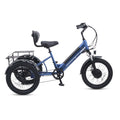

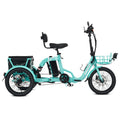


Congratulations; you’ve purchased a Various electric tricycle! Before you can ride off into the sunset on your Various Trio adult tricycle, however, you must perform the somewhat daunting task of assembling it. If you’re letting your three-wheeled parcel gather dust in the garage because you’re intimidated by all the cogs and wheels involved, we’re here to help!
We’ll guide you through the basics of assembling your Various Trio tricycle for adults. Your adult electric tricycle comes delivered in a tight parcel containing the main frame, rear frame, three wheels, bike seat, cargo basket, fenders, charger, pedals, and other miscellaneous pieces. Once you have confirmed that you have all the necessary parts in working order, you’re ready to build your ride!
Assembling Your Various Trio Electric Tricycle
Install the Rear Wheels
Before you start, ensure you assemble your rear wheels on a flat, wide-spread area. You’re going to need space and a level surface to build your frame.
- For easy assembly, start by inflating the tires using an air pump. Ensure not to over- or under-inflate.
- Distinguish the rear wheels (D-axle) from the front wheel (O-axle).
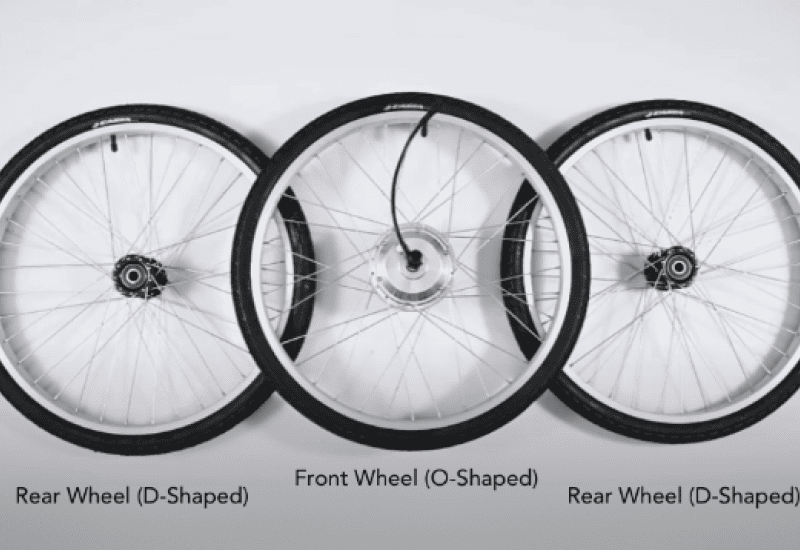
- Take the nut and washer off the right side of the rear axle. Slide a D-shaped tire on with the slotted side of the wheel axle fitting into the frame. Put the nut and washer back on and tighten with a wrench to secure the wheel.
- On the other side of the rear axle, remove the protective cap, nut, and washer and slide on the other D-shaped tire. Put the nut and washer back on and tighten.
Attach the Rear and Main Frame
- Loosen the two nuts and washers on each side of the rear frame. Loosen the nuts and washers on the main frame as well.
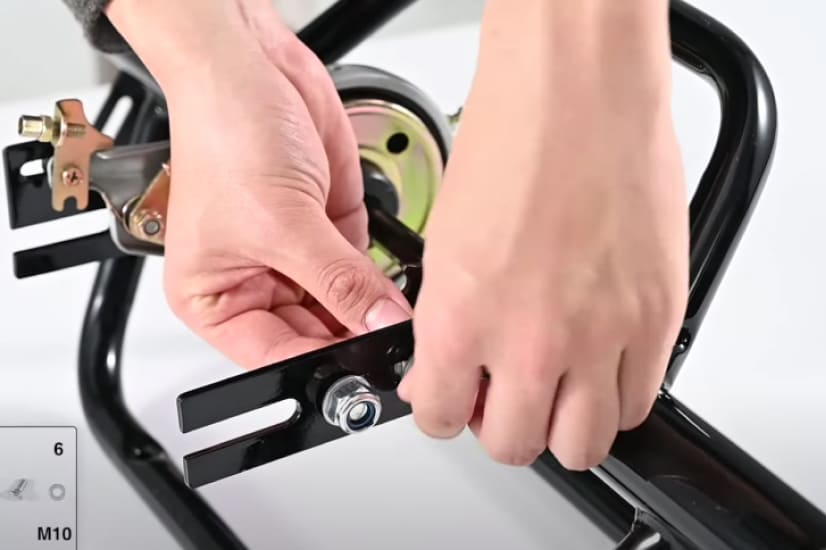
- Turn the main frame upside down to prevent the trike from sliding, and align the main frame slots with the outside nuts of the rear frame. Slide the two frames together with the rear frame inside and the main frame outside.
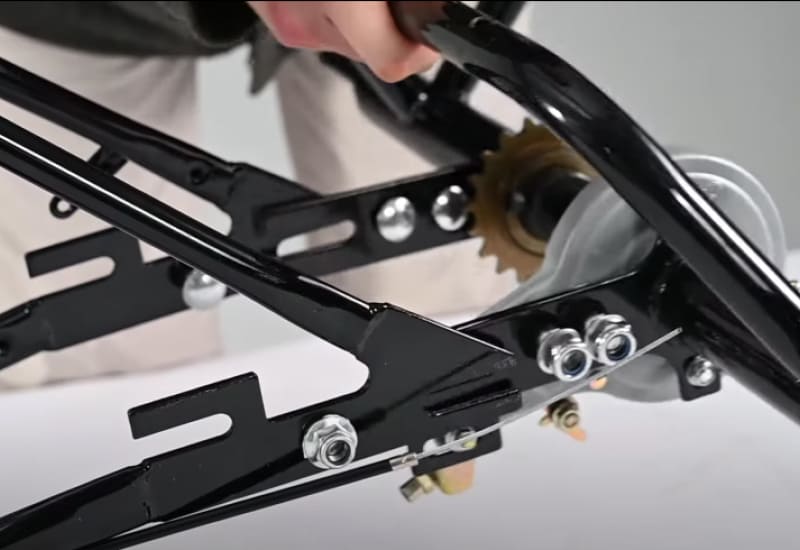
- Partially tighten the nuts and bolts using a wrench; you will be fully tightening them after installing the chain.
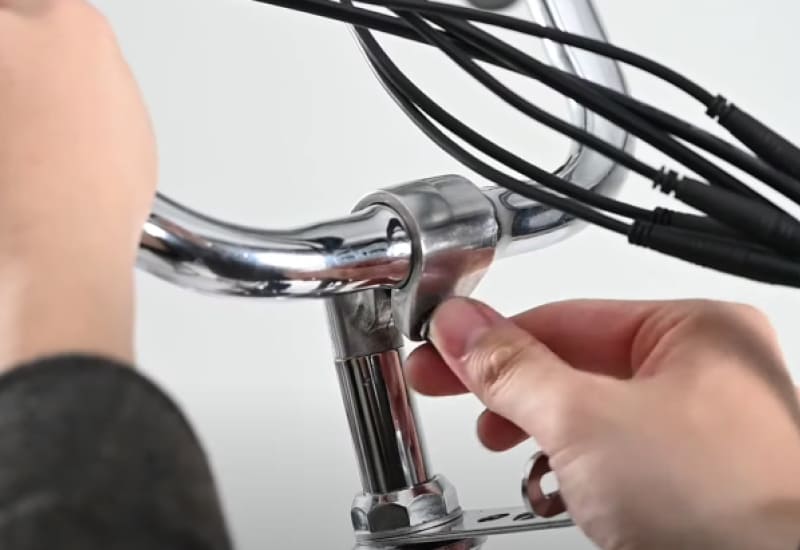
Install the Handlebars
- Remove the protective cover from the handlebar stem.
- Loosen the bolt at the head of the stem using a hex wrench.
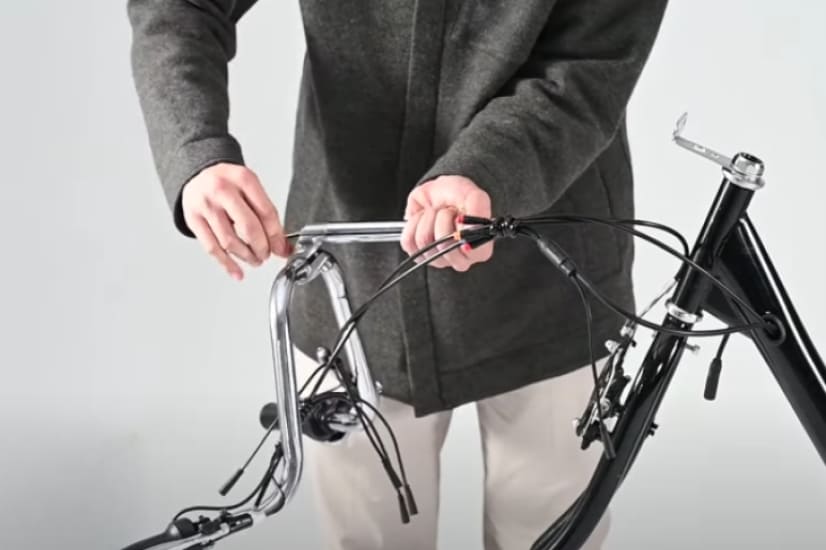
- Slide the handlebar stem into the head tube of the frame, then retighten the bolt.
- Once this tube is secured, unfold the handlebars and raise them to your desired positioning. Tighten the front bolt to keep the handlebars in place.
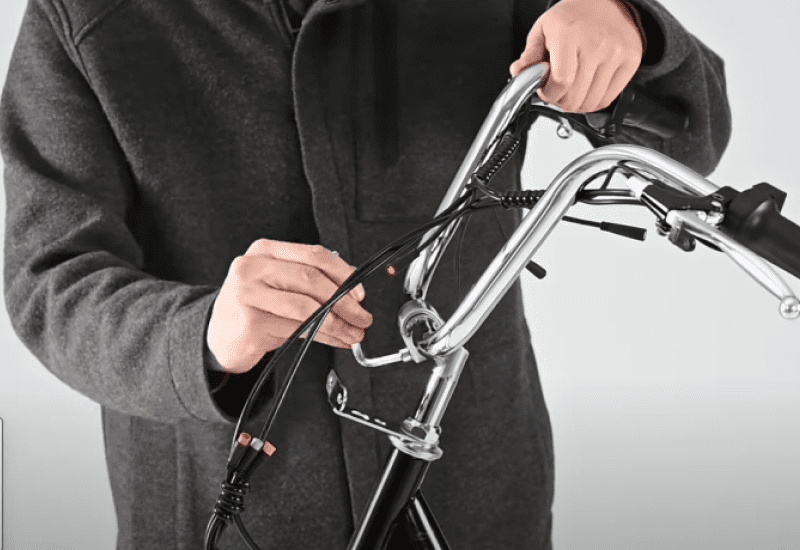
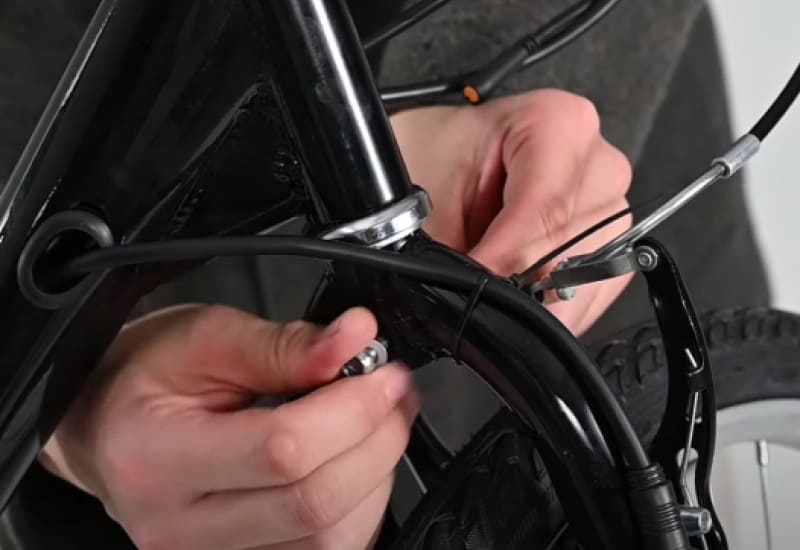
- Connect the blue throttle and red brake cables to their corresponding colored cables. For best results, use zip ties to bind the cables.
Install the Front Wheel
- Loosen the nuts on both sides of the front wheel.
- Locate the V-brakes. Disconnect the V-brakes by pressing them in and lifting the wire out.
- Unscrew the nuts on the protective bar and remove the bar from the main frame’s front fork.
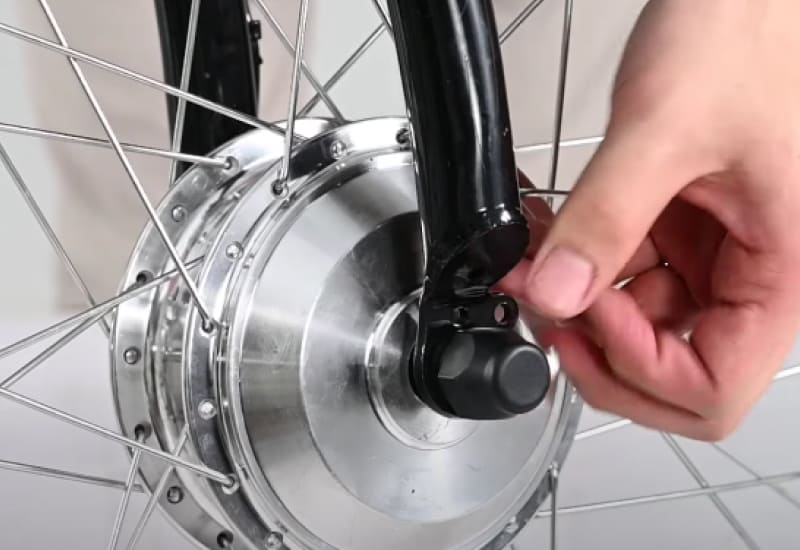
- Fit the wheel into the front forks. Ensure the motor cable is on the right side (left side if you’re facing the bike).
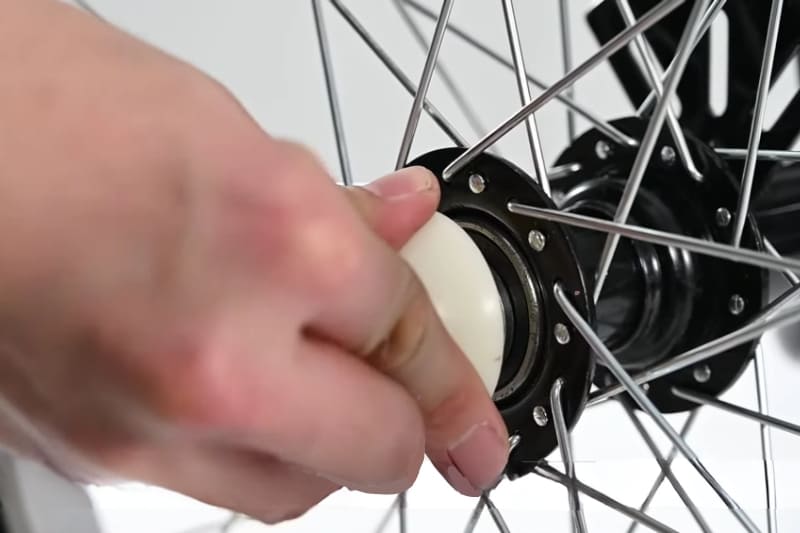
- Tighten the nut on the left (non-cable side) and repeat with the right side. Cover the nut and cable with the protective cap attached to the cable.

- Thread the cable through the slots along the front fork to prevent it from becoming tangled.
- Connect the wiring from the wheel to the handlebars, then attach the front wheel caps.
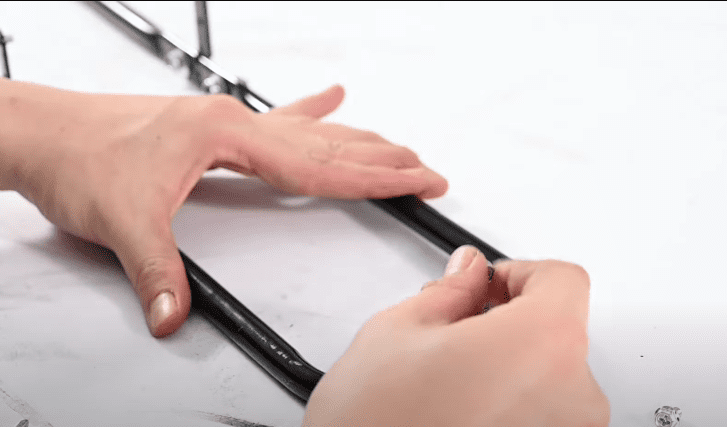
Install the Chain
- Take the chain and locate the main link.
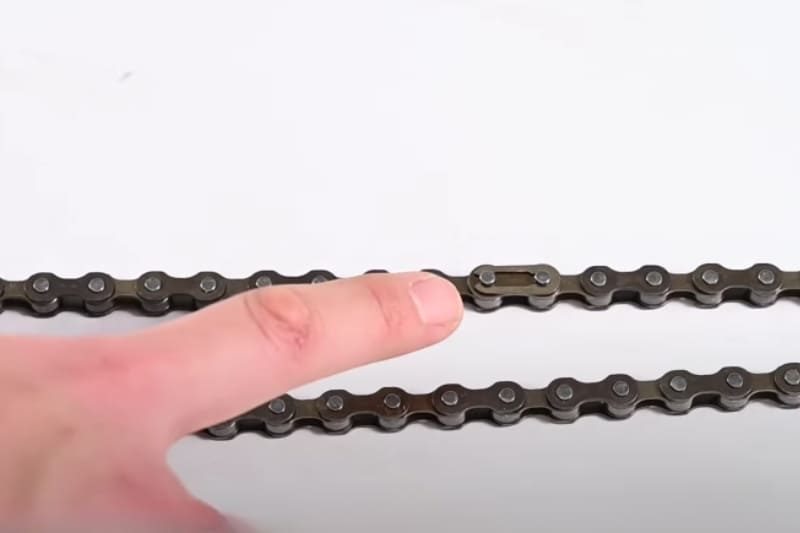
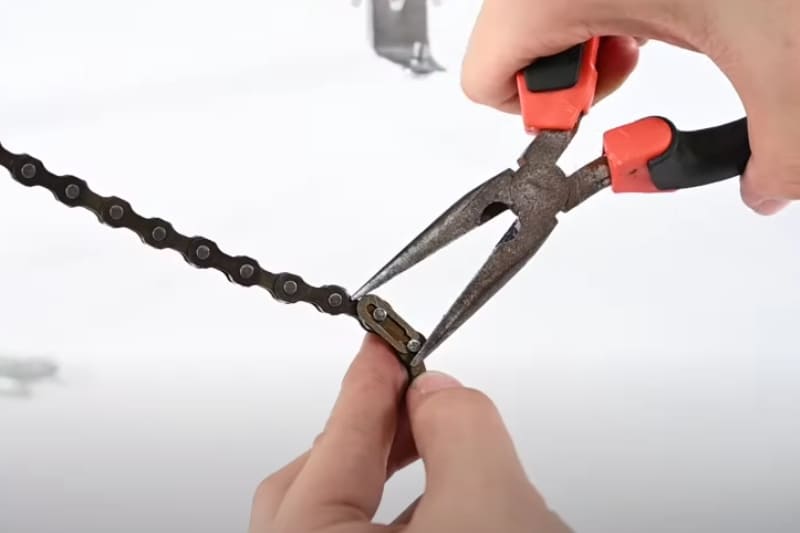
- Using pliers, open the link. You should now have one long chain length instead of a loop.
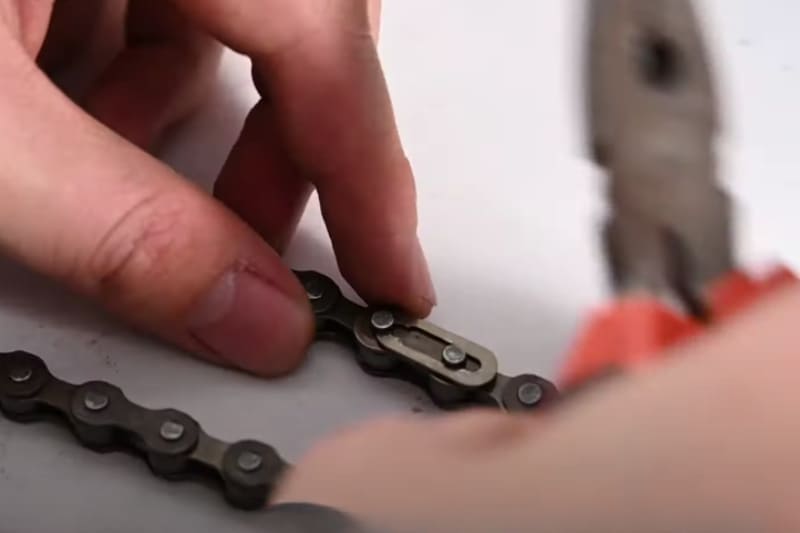
- Fit the chain around the rear sprockets, then reconnect the main link using pliers to push the pin back into the slot. Make sure the chain is secure.
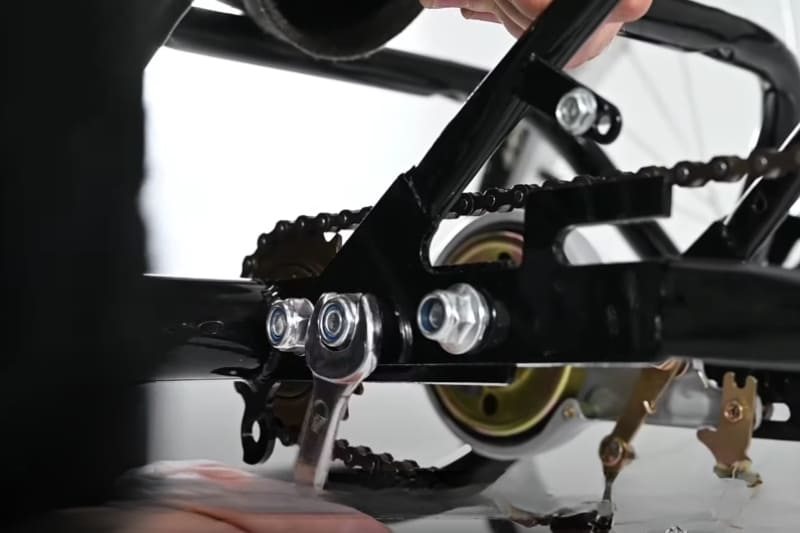
- Loop the chain around the front sprockets, cranking the pedals to ensure the chain moves freely. At this point, it should be a bit loose.
- Push the main frame forward and tighten the nuts and bolts on the frame connection until the chain is taut.
Install the Guard Supports
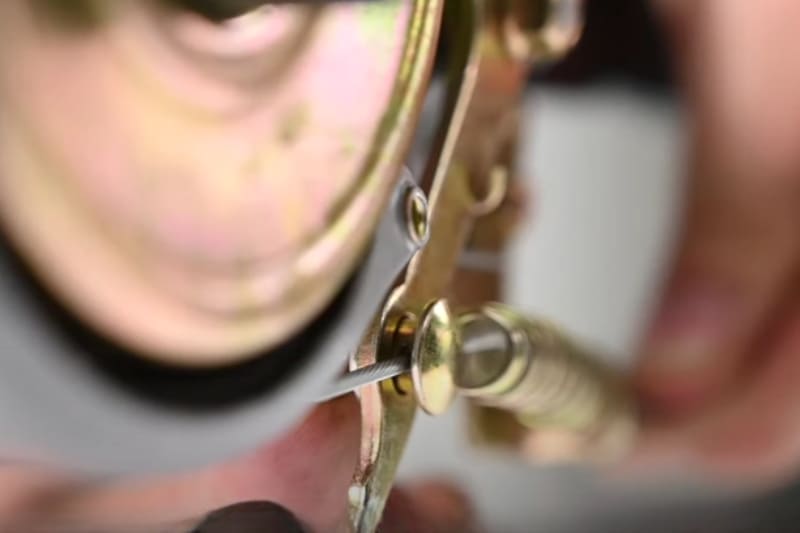
- Remove the three bolts on the guard supports adjacent to the front and rear sprockets. Keep these bolts nearby.
- Place the chain guard over the supports and chain, then replace and tighten the bolts.
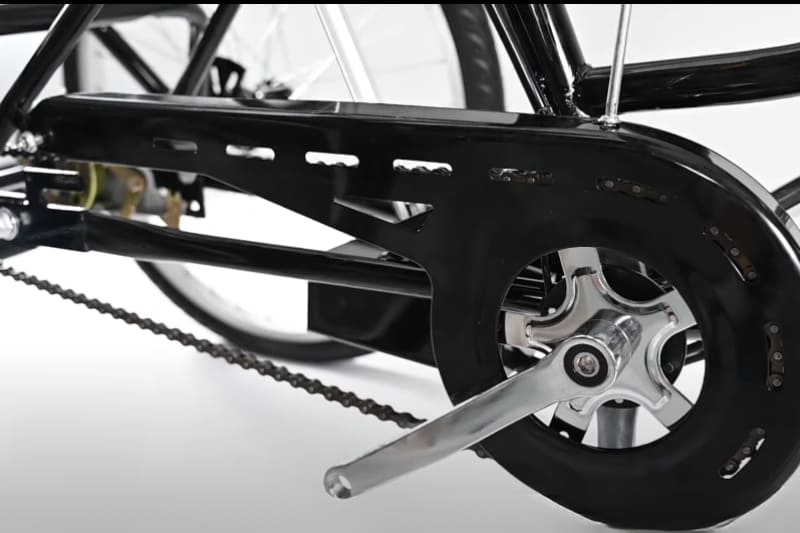
- Crank the chain to make sure it does not rub against the guard. If it does, readjust the guard so that there is no abrasion.
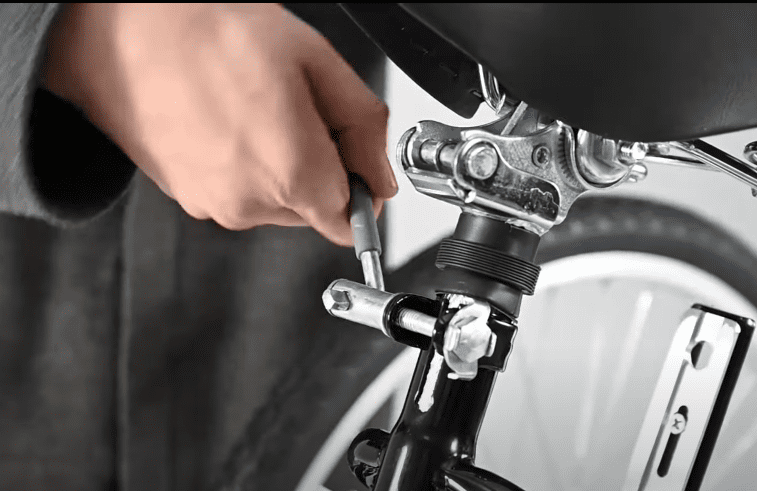
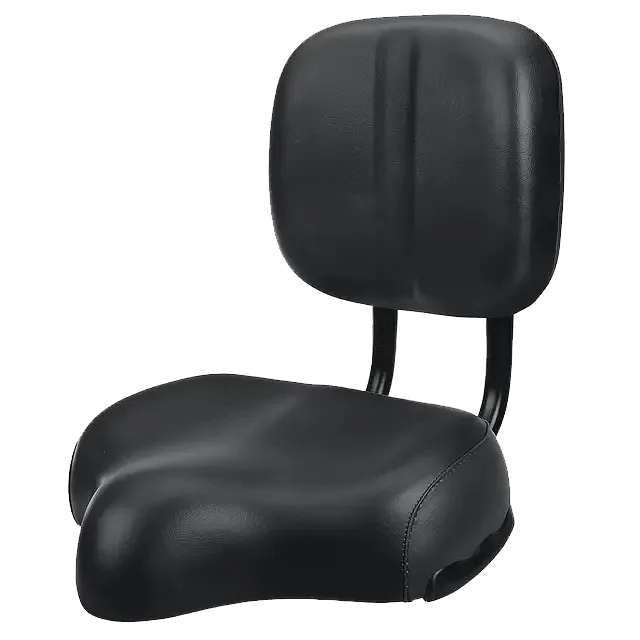
Install the Seat and Pedals
- Loosen the locking bolt on the seat stem by turning the handle counterclockwise.
- Insert the seat stem into the saddle post until it reaches your preferred height. Then, turn the locking bolt clockwise to tighten it.
- For the pedals, locate the right pedal and left pedal, marked R and L, respectively. Screw the R pedal into the right crank arm and tighten the locking nut.
- Repeat the same steps for the left-side pedal.
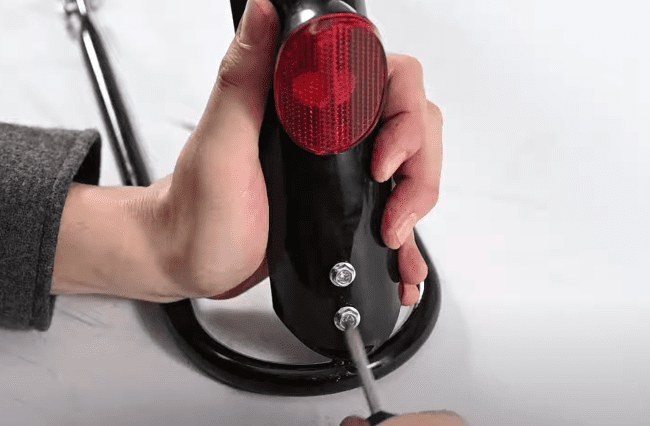
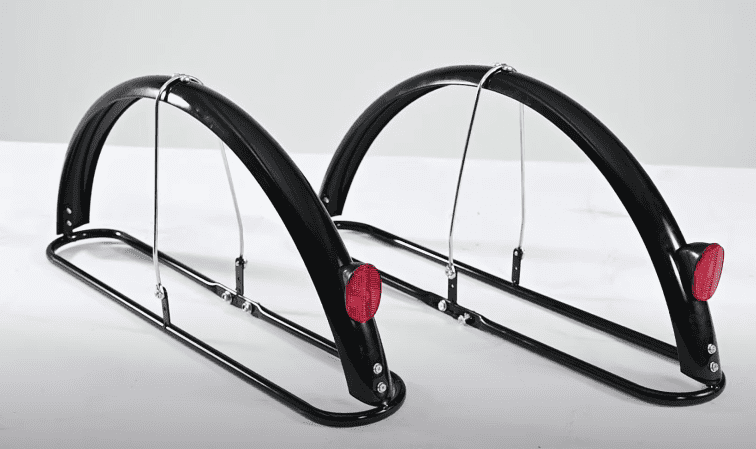
Install the Rear Reflectors/Fenders
- Remove the nuts from the rear reflectors and attach them to the rear fenders. Re tighten the bolts with pliers. Repeat for the other rear reflector.
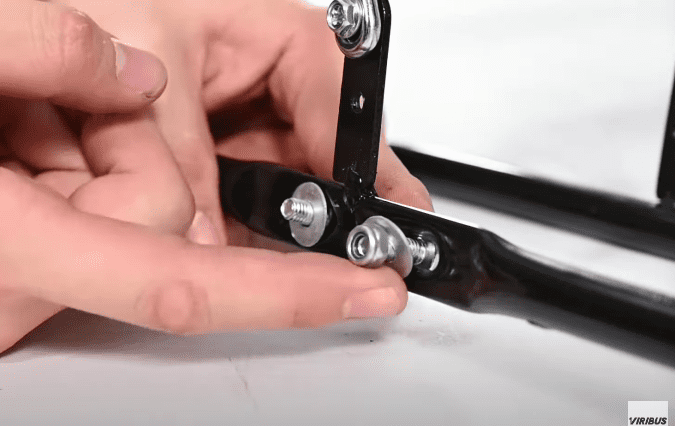
- Locate the rear fender support and remove the bolts.
- Screw the rear fenders onto the supports using a screwdriver.
- Locate the rear fender stays and align them to the fender and support. Tighten the bolts to secure the stay, and repeat for the next wheel.
- Remove the bolts from the outside of the rear supports, then place the fender and support over the rear wheel.
- Re secure the washers and bolts onto the support. Lift the rear fender to provide extra space between the wheel and the supports, then tighten the bolts completely.

- Repeat for the other wheel and fender.
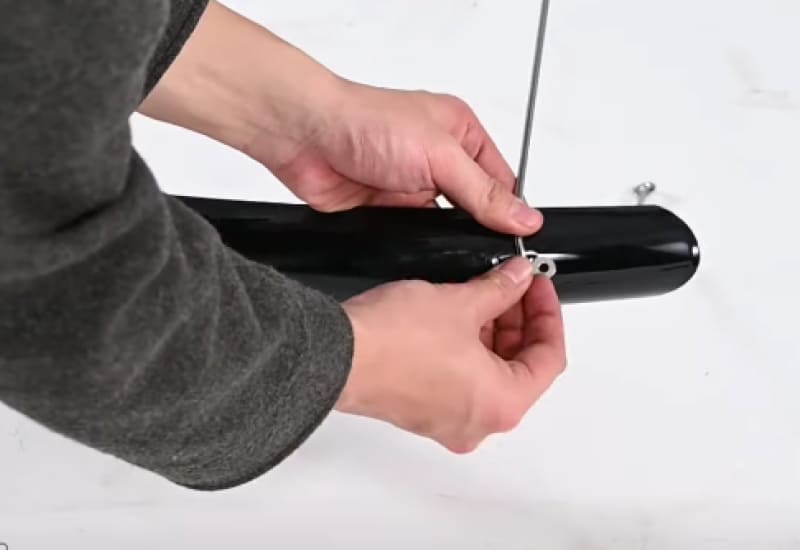
Install the Front Fender and Brake
- Attach the stay to the front fender using slats and bolts to keep it in place. Tighten the bolts using a screwdriver.
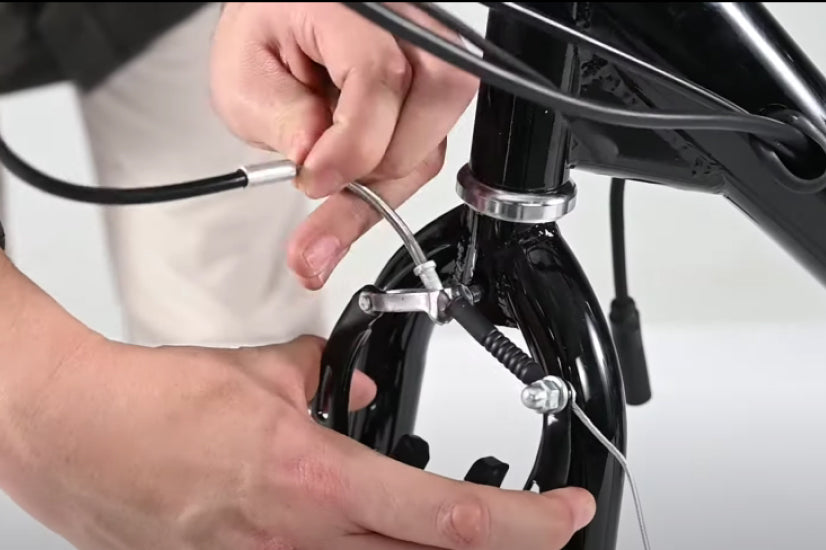
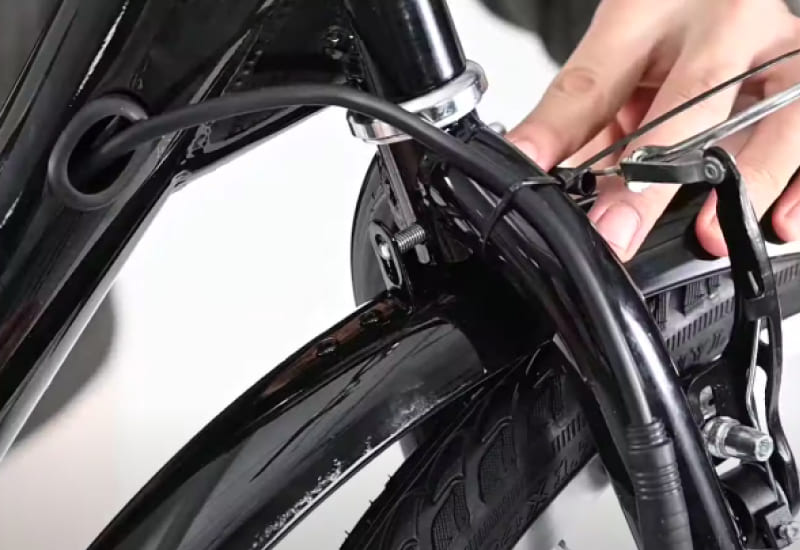
- Locate the brake pads and position them over the front wheel rim without touching the tire.
- Once they are centered over the rim, tighten the bolts completely using a hex wrench.
- Pull the front brake cable through the V-brake and pull it taut. Squeeze the end of the cable cap with pliers.
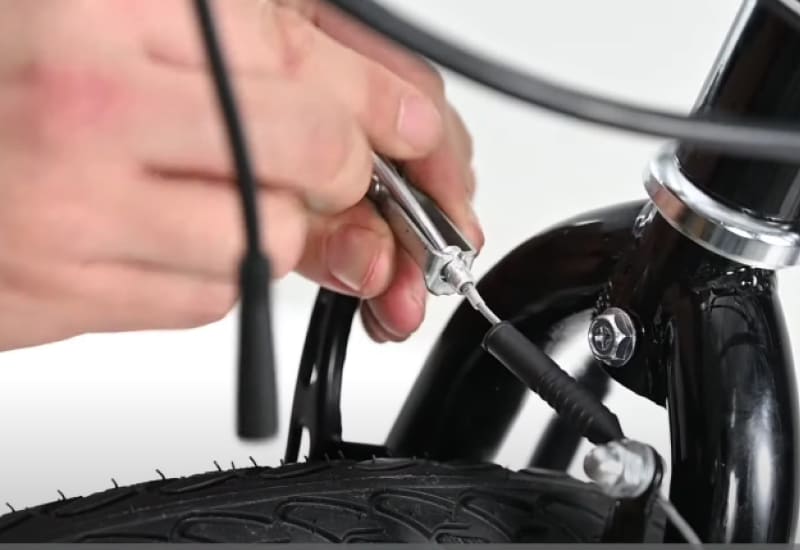
- Remove the long bolt from the front fork underneath the handlebars by unscrewing the washer and pulling out the bolt completely.
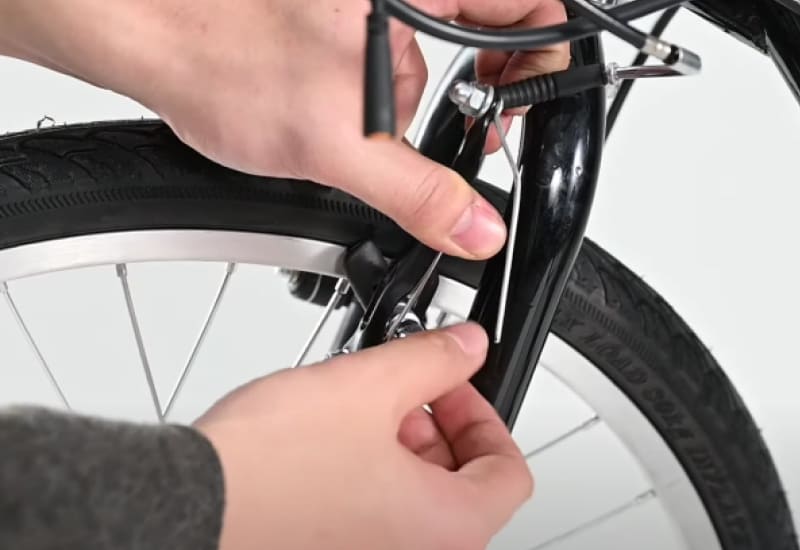
- By the front wheel, remove the small bolts from the front forks on both sides.
- Place the front fender over the front wheel by sliding it between the frame and the wheel until the fender aligns with the small hole on the front fork.
- Replace the long bolt, washer, and nut to connect the fender to the front fork. Tighten the bolt.
- Connect the fender stay to the small forks by the wheel. Replace the bolts and tighten them completely.
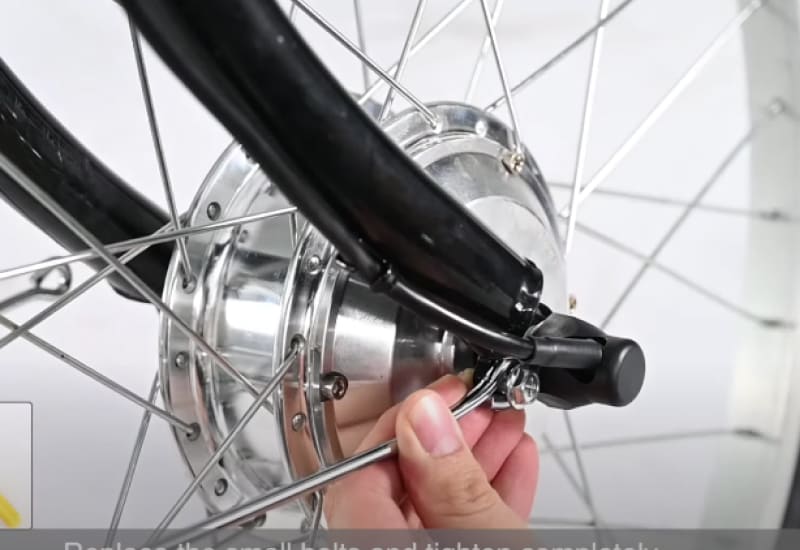
Install the Rear Brake
- Locate the spring and place it between the rear brake cable support
- Thread the rear brake cable through the cable spring and barrel adjuster.
- Once it’s threaded, press on the barrel adjuster and tighten the nut by hand.
- Pump the hand brakes to test them out.
- Attach the cable cap and secure it by squeezing it with pliers.
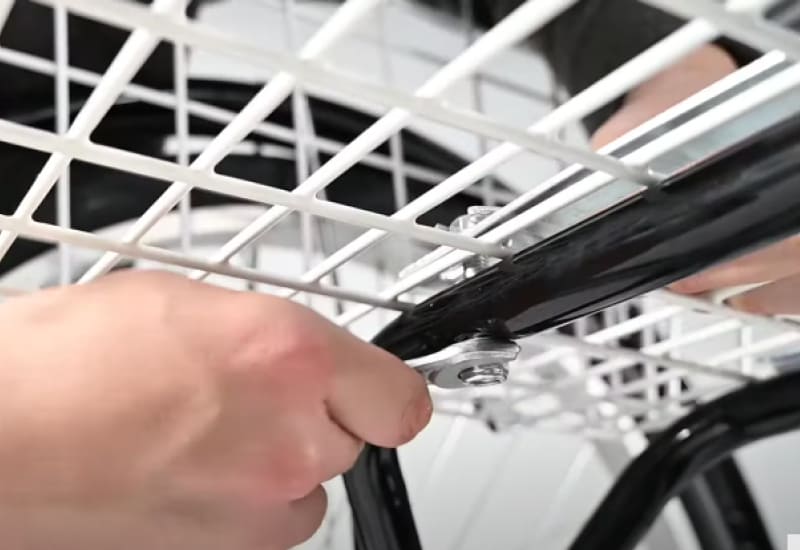
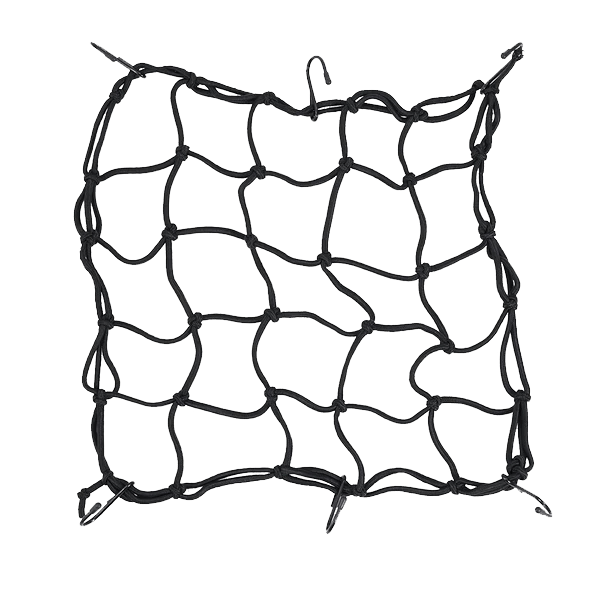
Install the Basket
- Assemble the cargo basket by aligning all the hooks.
- Connect the basket to the frame using the slats and bolts. Tighten the bolts to secure the basket.
Install the Front Light
- Remove the long handlebar bolt and set it aside.
- Align the light over the hole and replace the screw, tightening the bolt with a hex wrench to secure the headlight.
- Connect the orange/yellow cable to the headlight.
Ready to Ride with Viribus
Now, true congratulations are in order; you’ve not only finished reading this article, but you’ve also finished assembling your Various Trio electric tricycle for adults! Now it’s time to hit the streets, feel the wind on your face, and experience the ultimate stability and ease only a Various adult tricycle/bike can provide.
Secure your independence and freedom with Viribus adult tricycles. Electric or non-electric tricycles for adults provide exercise and transportation for those with imbalances or motor issues. Utilize this electric cargo tricycle from Viribus to explore new worlds!


Leave a comment
All comments are moderated before being published.
This site is protected by hCaptcha and the hCaptcha Privacy Policy and Terms of Service apply.