


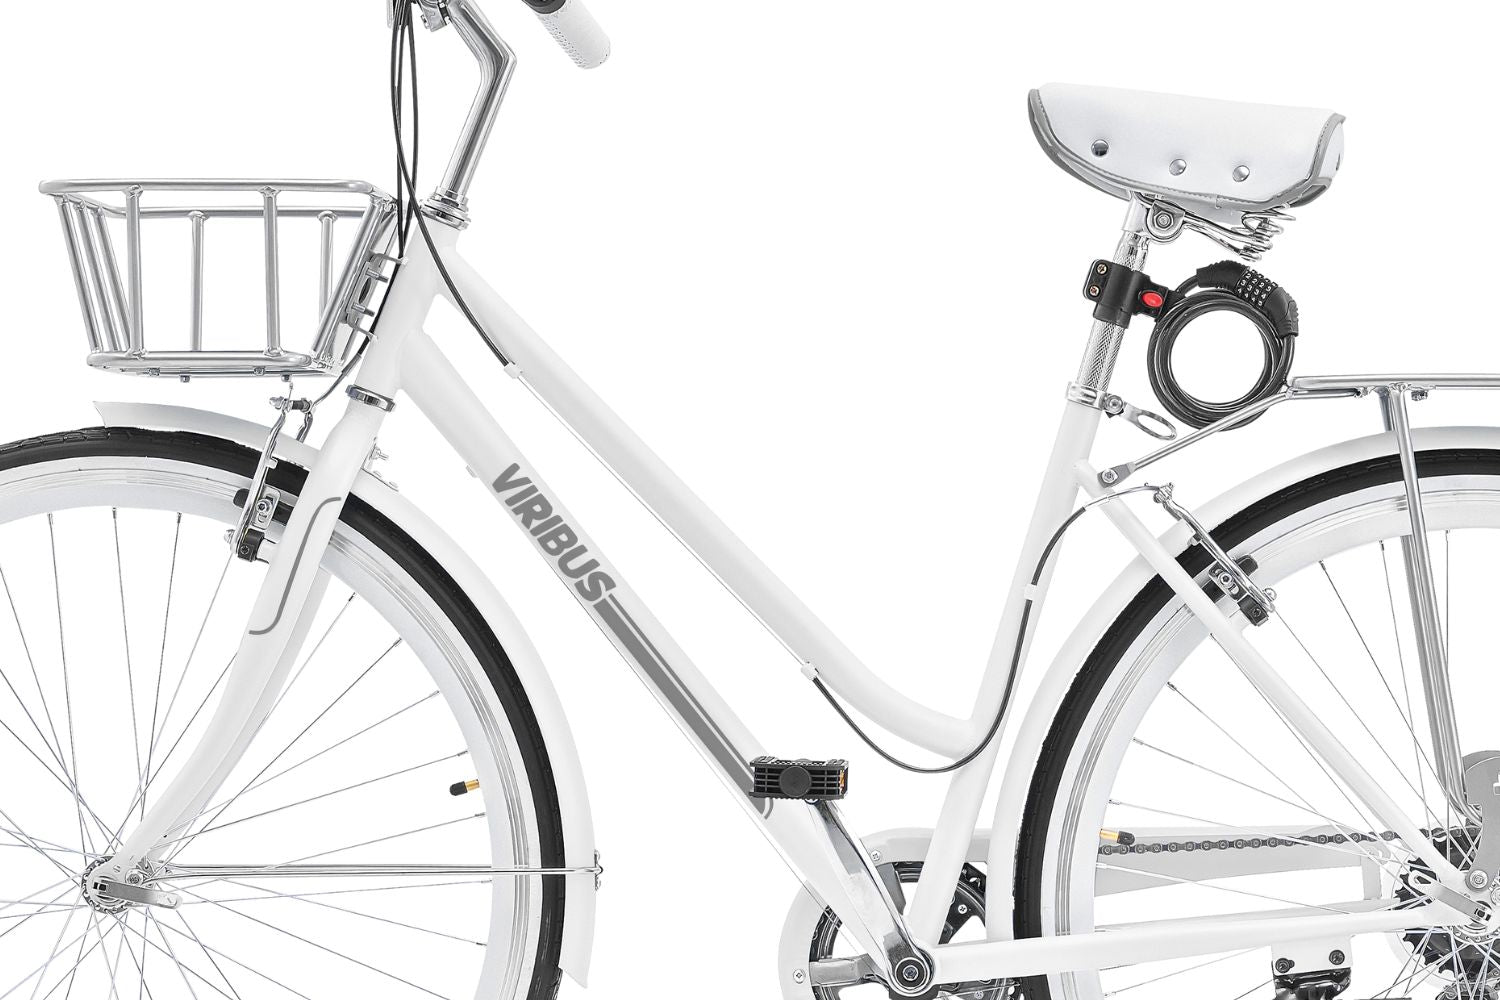
Like any other bicycles, electric bicycles require regular maintenance, and one of the most crucial components to keep in top shape is the braking system. Properly functioning brakes are essential for the safety of the rider (and other road users) and the longevity of your e-bike. Fortunately, with the right guidance, it could take just about six steps to fix and maintain your electric bicycle's brakes, bringing back safety and enjoyment to your biking adventures.
TOOLS AND MATERIALS NEEDED
Bringing together all the tools and materials needed is an essential step to ensure that work is quick and effective. Before you unscrew or take anything apart, make sure all the following items are within arm’s reach:

- Allen wrench set
- Screwdrivers
- Adjustable wrench
- Pliers
- Brake pads (if replacement is needed)
- Brake cleaner
- Lubricant
STEP-BY-STEP PROCESS
STEP 1: INSPECT THE BRAKES
The first and most crucial step in fixing your brakes is to conduct a thorough inspection. The purpose of this inspection is to identify any clues that might indicate what went wrong. Inspection must be meticulous and deliberate: an issue that cannot be identified cannot be solved.
- Visual Inspection: Start by examining the brake pads, rotors (for disc brakes), and brake cables for any signs of wear, damage, or misalignment. Pay close attention to the brake pads; if they are worn down to less than 1/8 inch thick, it's time to replace them.
- Test the Brakes: Next, test the brakes by squeezing the brake levers. The brakes should engage smoothly and firmly without any squealing or rubbing noises. If the brake lever feels spongy or doesn't engage properly, that is an indication that something might be wrong and further adjustments or repairs are needed.
STEP 2: ADJUSTING BRAKE PADS
The process of adjusting the brake pads may vary depending on the type of brakes your bike uses. If your electric bike uses rim brakes, for example, you must focus on ensuring that the brake pads are correctly aligned with the rim and not rubbing against the tire. For brake pads, follow these steps:

- Align the Pads: To check alignment, position the bike, so you can easily access the brakes. Spin the wheel and observe the brake pads. They should make contact with the rim's braking surface evenly when you squeeze the brake lever. This is the motion that causes the tire to stop.
- Adjust Pad Position: If the pads are misaligned, it is time to pick up the Allen wrench. Use the Allen wrench to loosen the bolt holding the brake pad. Adjust the pad's position, so it sits correctly on the rim, ensuring it doesn't touch the tire. Once aligned, tighten the bolt securely.
STEP 3: ADJUSTING DISC BRAKES
Disc brakes are designed differently and require a different approach. When fixing disc brakes, the focus is on ensuring that the caliper is correctly aligned over the rotor, which is crucial for optimal braking performance.
- Check Caliper Alignment: Start by inspecting the caliper to make sure it is centered over the rotor. If it's not, you'll need to adjust it. Loosen the mounting bolts on the caliper slightly, then squeeze the brake lever to center the caliper over the rotor. While holding the lever, retighten the bolts.
- Check Pad Wear: Check your brake pads for wear and tear. To do this, remove the wheel to access the caliper. Remove the old pads by pulling them out or releasing a retaining clip. Insert the new pads, ensuring they are seated correctly. Reinstall the wheel and test the brakes.
STEP 4: TIGHTENING BRAKE CABLES
Sometimes, poor brake performance is neither caused by a misalignment of the disc brakes or brake pads, but by loose brake cables. Ensuring the correct cable tension is vital for effective braking. Follow these steps to tighten up the tension on your brake cables.

- Inspect Cable Tension: Check the tension of your brake cables by squeezing the brake lever. If the cables feel loose or the brakes don't engage quickly enough, the cable may need tightening. In that case, you need to go through the following steps to tighten them up.
- Adjust Tension: Locate the barrel adjuster on the brake lever or caliper and turn it clockwise to tighten the cable. For significant adjustments, loosen the bolt that holds the cable at the brake caliper, pull the cable tight, and retighten the bolt. Test the brakes after each adjustment to ensure they engage correctly.
STEP 6: TESTING
After making all the necessary adjustments and repairs, do not just ride off into the sunset. It is crucial to test your brakes to ensure they are working correctly.
- Test Ride: Take your e-bike for a short test ride in a safe area. Gradually increase your speed and apply the brakes to test their effectiveness. The brake lever should feel firm, and the bike should stop smoothly and quickly without any unusual noises or vibrations.
ADDITIONAL TIPS FOR MAINTAINING YOUR ELECTRIC BIKE BRAKES
Check for Rotor Warping (Disc Brakes): If you notice any vibrations or noise while braking, check the rotor for warping. A warped rotor will cause the brake pads to make uneven contact, reducing braking performance. You can true a slightly warped rotor using a rotor truing tool, but if severely warped, the rotors must be replaced.
Check Brake Fluid (Hydraulic Brakes): If your e-bike has hydraulic brakes, periodically check the brake fluid level. Low brake fluid can cause spongy brakes and reduced braking power. If the fluid is low, top it up according to the manufacturer's specifications. If you suspect air in the system, you may need to bleed the brakes to remove air bubbles.
Regular Maintenance: Perform regular maintenance on your e-bike brakes to ensure they remain in good working condition. This includes checking the brake pads and rotors for wear, ensuring the brake cables are properly tensioned, and cleaning the braking surfaces. Regular maintenance will help you catch potential issues early and keep your brakes performing optimally.
SEEK PROFESSIONAL HELP?
While many brake adjustments and repairs can be done at home, there are times when it's best to seek professional help. If you're unsure about any step or encounter a problem you can't fix, take your e-bike to a professional bike mechanic. They have the tools and expertise to diagnose and repair more complex issues.
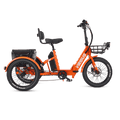
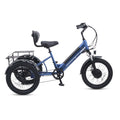
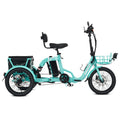
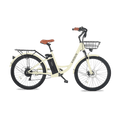
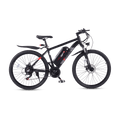
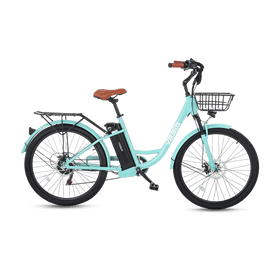
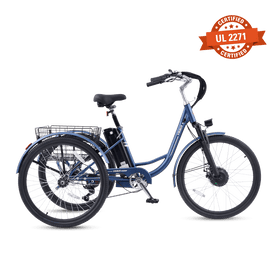
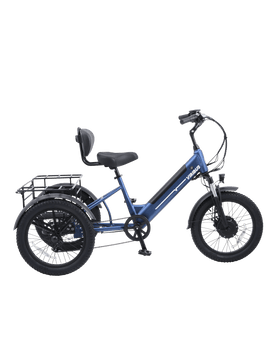
VIRIBUS, THE BEST BIKES!

Various is trusted by thousands of people all around the world as a supplier of top-quality electric bikes. From mountain bikes to city cruisers, various bikes serve all bike riders with different riding needs. In addition to solid and reliable bikes, Viribus also provides amazing customer benefits and valuable information about the world of biking and helps first-time riders understand bike specs.
Check out Viribus’s collection of electric bikes and enjoy safe riding without any fears!


Leave a comment
All comments are moderated before being published.
This site is protected by hCaptcha and the hCaptcha Privacy Policy and Terms of Service apply.